Navigating the app
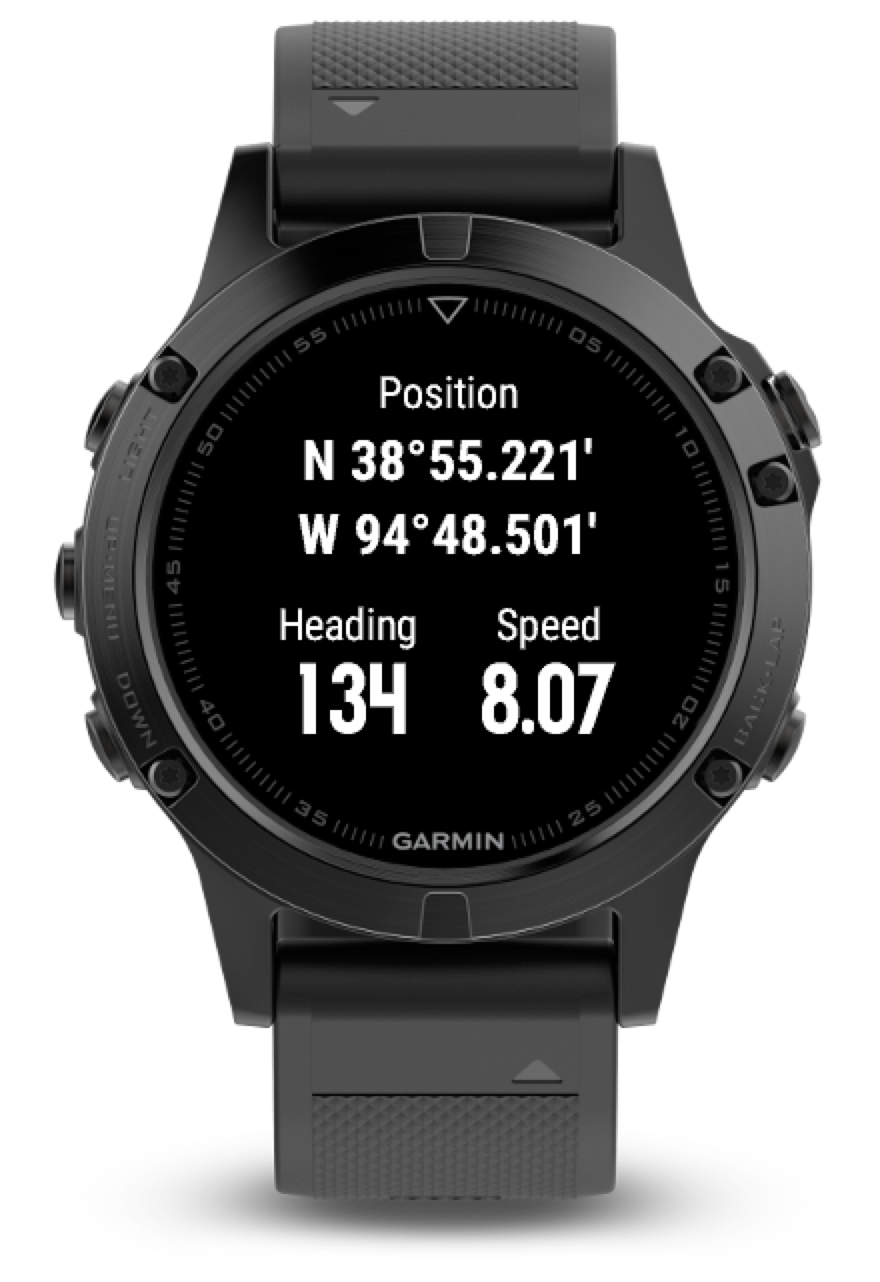
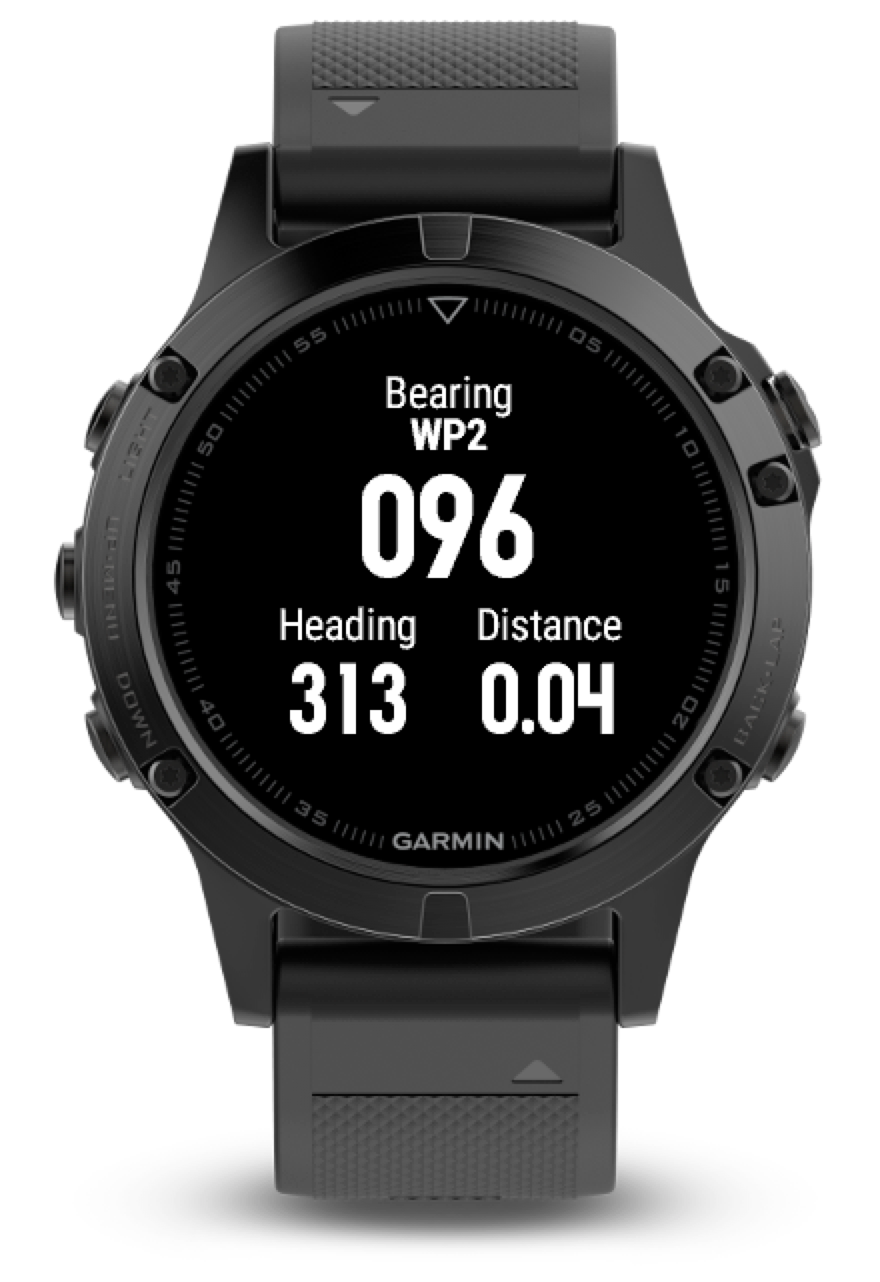
The Sail Race app consists of three screens – Position, Timer and Bearing. You switch screen with the Up and Down buttons or, if you have a Vívoactive 3, by swiping up or down on the screen or with the side swipe control. Each screen has its own menu with its associated functions. Depending on the strength and quality of the GPS signal, the screens figures will shift from red (poor), yellow to white (excellent). The app uses only nautical units for speed and distance.
To make it easy to change apps during an activity, the app will “remember” all settings when leaving the app so it will start were you left it when restarted.
You exit the app by flipping to the Position screen and press the back-button or, on devices with touch screens, swipe right on the screen.
Position Screen
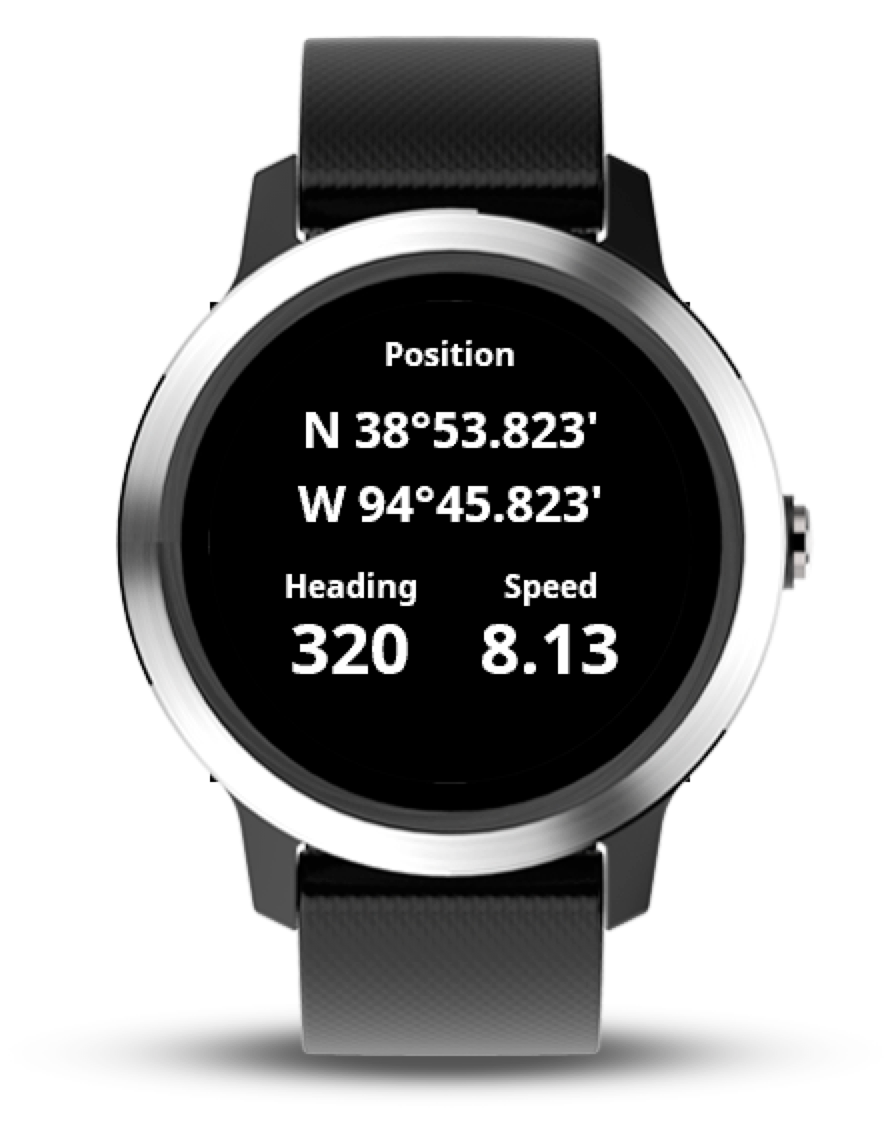
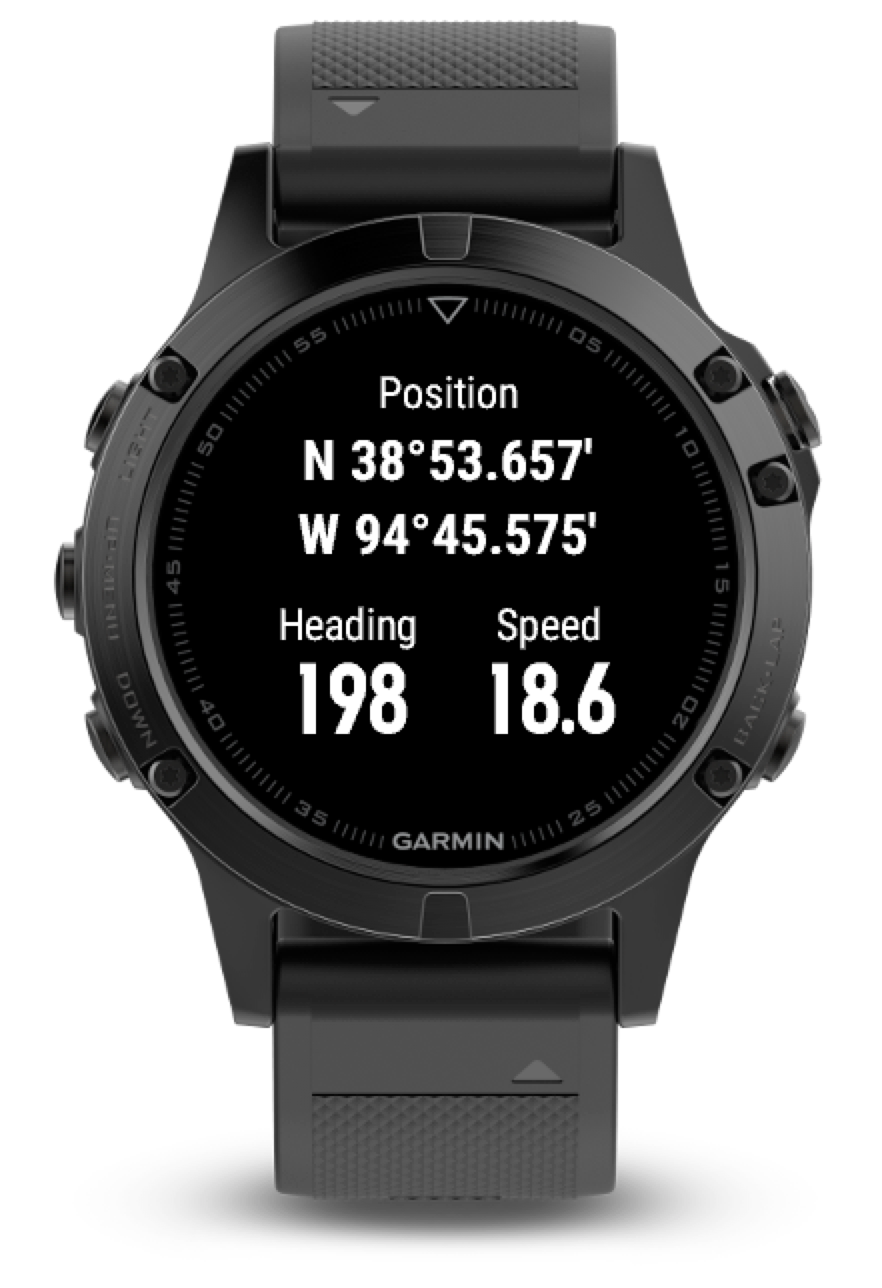
Position screen provides the basic navigation information; position, heading and speed.
This is were you enter and exit the app. You exit by pressing the Back-button or by swiping right on the screen.
Timer Screen
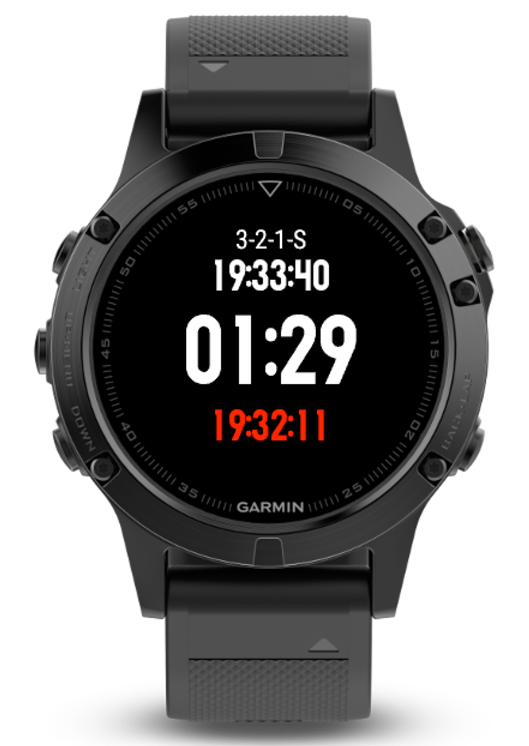
The Timer screen provides three basic timers:
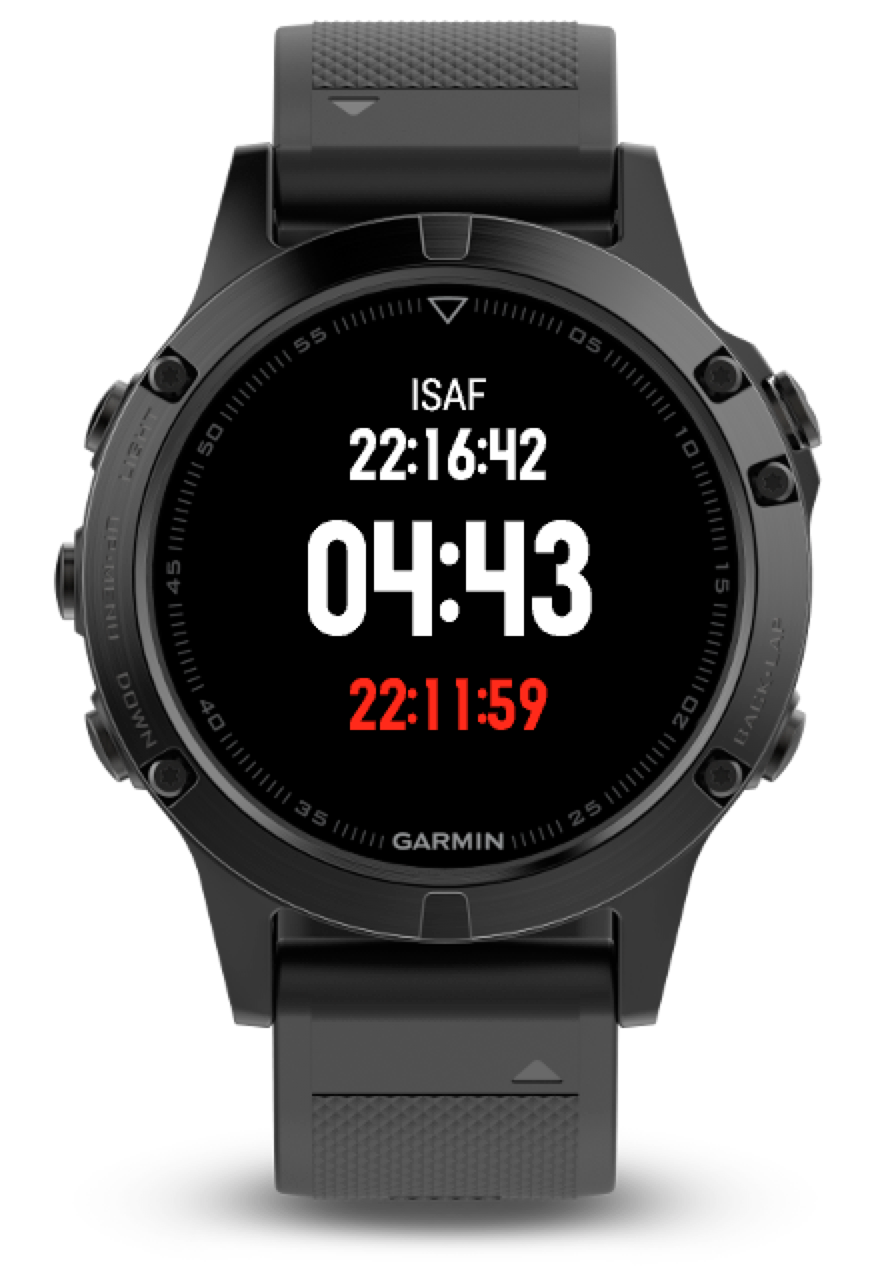
- ISAF with signals at 5, 4 and 1 minutes before the start
- Fix Time Start allowing for a start at a specific time. It will give a signal at 10, 5, 4 and 1 minute before the start.
- 3-2-1-Go with signals at 3, 2 and 1 minutes before the start
All timers will give a 30 seconds warning and beep every second the last 10 seconds. The screen shows actual starting time, burn time and time of day (red at the bottom of the screen).
Timer starts/stops when pressing the start/stop button (upper right on most devices), On the Vívoactive 3 the timer starts when the button i pressed. If the start/stop stop button is pressed a third time the timer will reset to the first signal.
A re-sync to next signal is achieved by pressing the back button (lower right on most devices) or by swiping right on a touch screen. Pressing the back button after race has started will pause the timer until the button is pressed again.
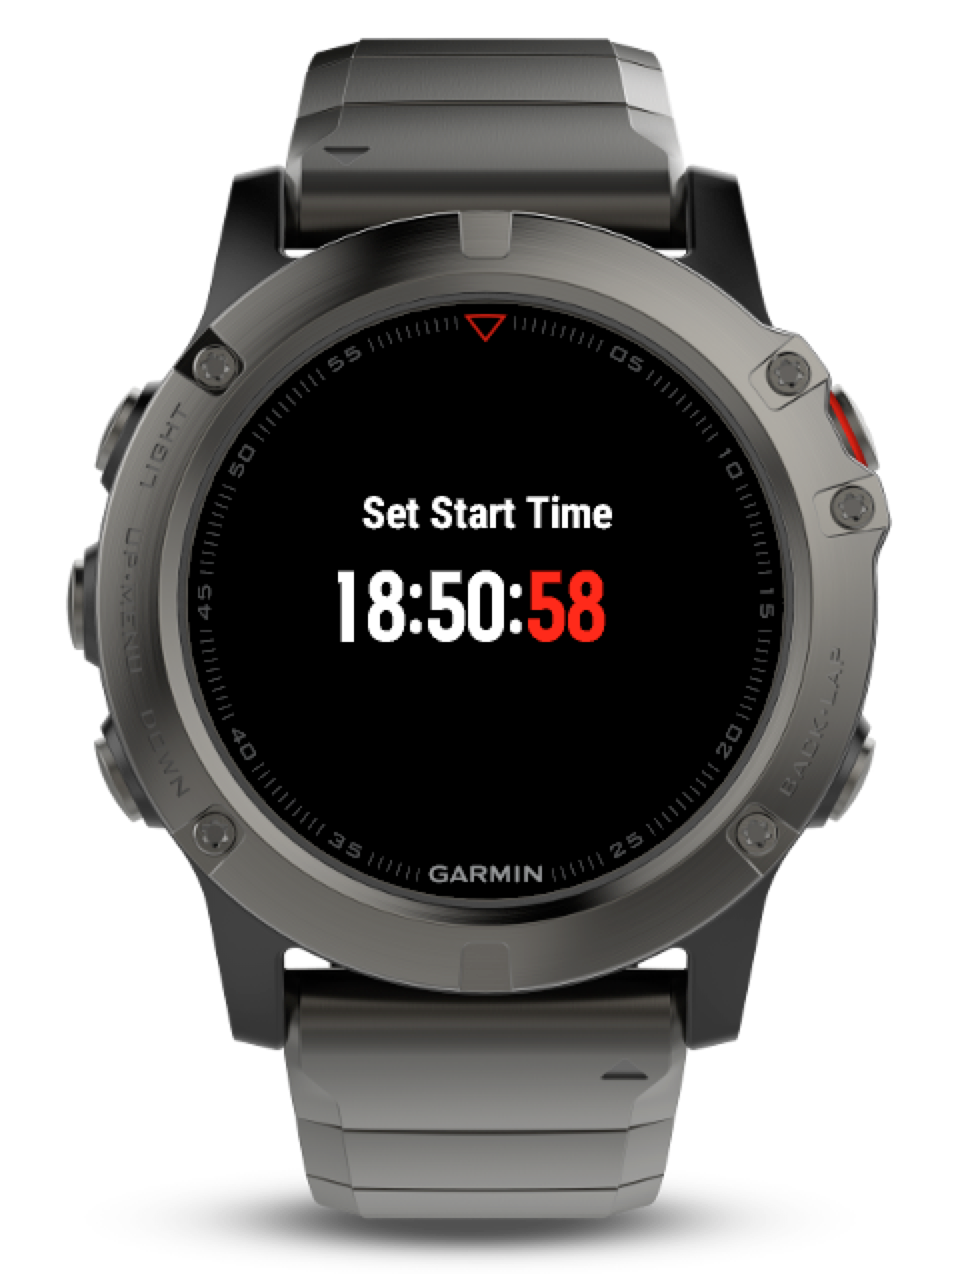
When selecting an ISAF or 3-2-1-Go timer from the menu it will allow you to set a first signal different to the default. Fix Time Start will ask for start time. You set the time by pressing the up/down buttons and confirming the setting with the start/stop button. On a touch screen device, swiping up or down will step the time. Side swipe also steps the time. Tapping the the screen will confirm the setting.
Bearing Screen
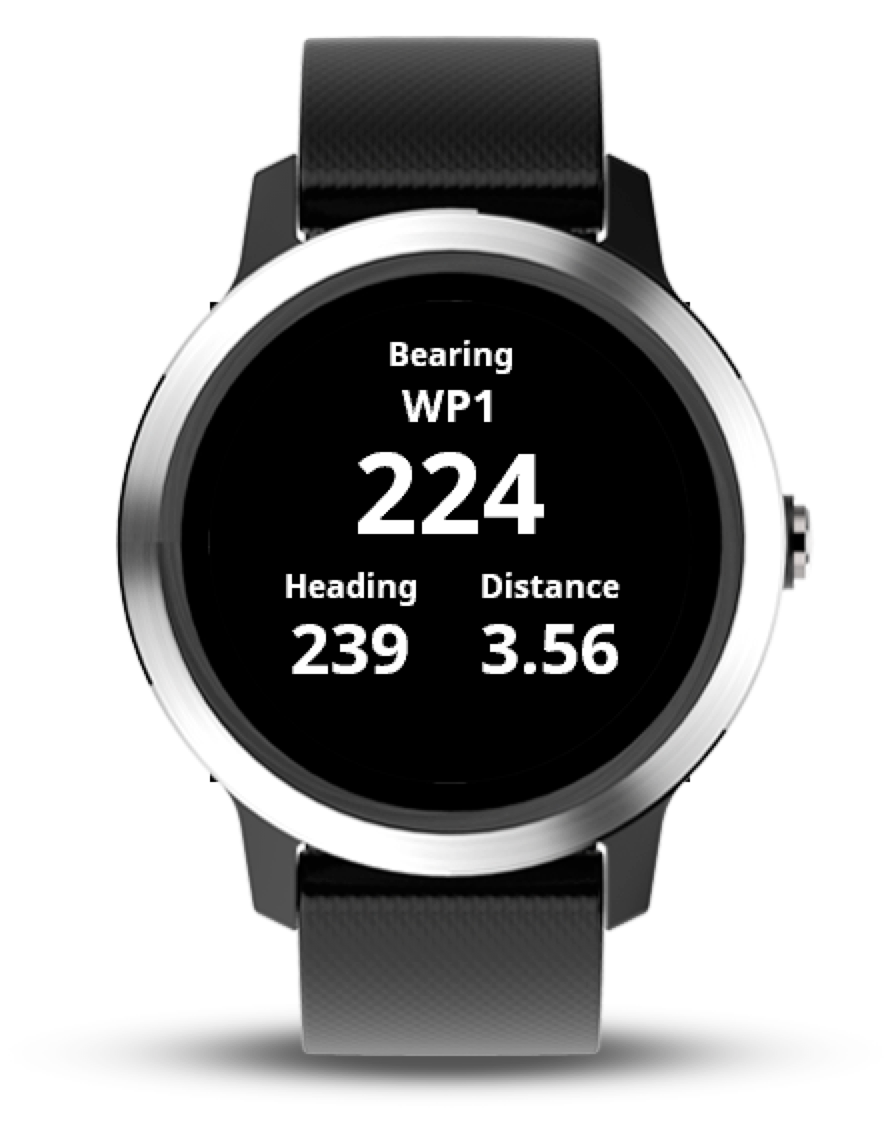
The screen show bearing and distance to current waypoint or three dashes if there is no active waypoint. The start/stop and back buttons steps the pointer to the next or previous waypoint in the list. When reaching the end of a route, three dashes will be displayed an the route is cleared. Depending on the device you may configure up to 20 waypoints (15 on memory constraint devices). A route may contain up to 20 (15) waypoints. All waypoints are named sequentially WP1 – WP20.
Manage waypoints
To manage waypoints you need to bring up the Waypoints menu were the entry points – add, edit and clear waypoints – are found.
Add Waypoint
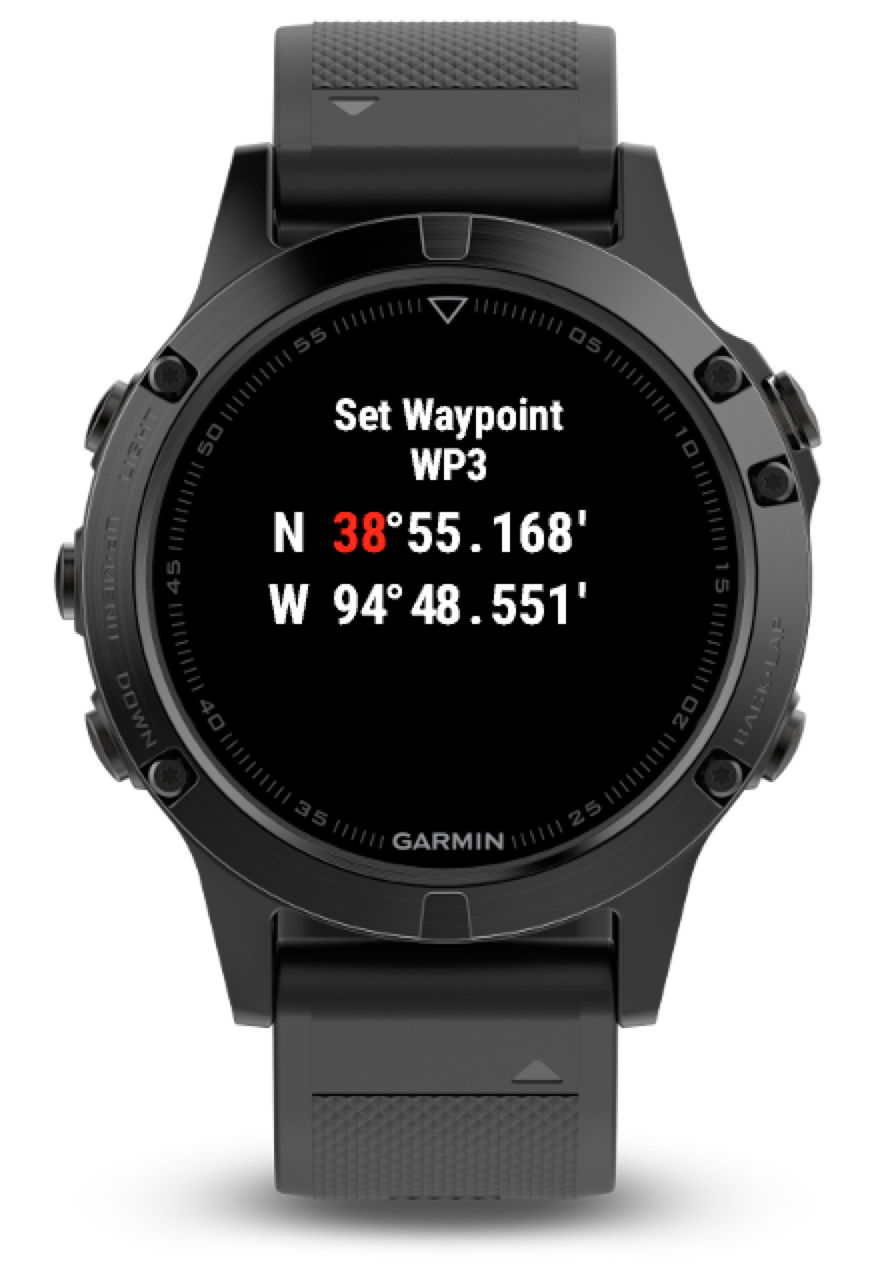
When selecting Add Waypoint first available slot will be used and current position will be offered as default. The screen is labeled Set Waypoint and the name of the waypoint is presented below the label. The numbers are stepped using the up and down buttons and confirmed by the start/stop button. On touch screen devices swiping up or down and tapping the screen will have the same effect.
Edit Waypoint
Depending on the device selecting the waypoint to edit differs slightly. The app makes use of the device standard traits for picking items from a list. On a five button device up and down will step the list, back will select current item. Touch screen devices swiping up and down on the screen or side swipe will step the list. To select you need to swipe left and tap the green tick mark.
Altering the position is made in the same maner as when adding a waypoint.
Clear Waypoints
This menu item will clear all waypoints. Use with care as no warning is offered.
Manage routes
To manage routes you need to bring up the Routes menu were the entry points – add waypoint, edit/show waypoints, set route active and clear waypoints – are found.
Create a route (Add Waypoints)
A route is created by sequentially adding waypoints making up the route. A waypoint is selected by pressing the start/stop-button or by swiping left and tapping the tick mark on touch screen devices. When the last waypoint has been added, press the back-button or swipe right.
When the route is defined, activate it by selecting the menu item Set Route Active.
Edit route (Show Route)
When this item is selected the route will be presented as a list Start > First Waypoint > Second Waypoint > … > Finish. Viewing and moving a waypoint is possible by pressing the back-button (or swipe left and tap the tick mark on touch screen devices). Unfortunately it is not possible to insert, remove or replace a waypoint.
Set Route Active.
This menu item will set the app to start navigating to the route.
Clear Route
This menu item will clear the route. Use with care as no warning is offered.
